Note
This article was automatically translated using Google
Updated on 2022-12-17, this method can be used with peace of mind. The new library domain name on the github page is the original domain name/new library name. It is recommended to directly take the abbreviation of the corresponding language, which is easy to remember and search, and more The key point is that compared to directly linking a google translation, the biggest advantage is google crawling
Updated on 2022.11.30, the node-version version has been upgraded, using 12 will prompt the upgrade in the management background, although it can be used normally, but the checkout@v2 in the code is changed to v3, setup-node@v1 is changed to v3, node-version Just change it to 16
Program advantages
First of all, let me talk about the advantages of the program I currently use:
- Only one set of Hexo is deployed locally, and the styles and articles are maintained together (only the template and configuration files are different)
- There are two independent front desks at the time of the visit, providing a completely immersive reading experience
- With automated deployment, you can concentrate on writing articles after configuration, without additional operations
- Truly independent classification and labeling
- On Google analytics, the two front desks will be treated as one website for centralized data presentation
- Independent site map, which is more effective for Google to grab links and facilitate SEO optimization
Interesting discovery
Hexo’s multi-language solution is a problem that many people are considering, but there has been no particularly perfect solution for a long time. There are currently two mainstream solutions:
Use the
hexo-generator-i18nplug-in, add thelanglogo to the article to distinguish, and then use the template program to judge the generation when renderingDeploy two sets of Hexo directly, upload them to different libraries, and add manual switching on the page
When I was using the second solution and configuring the address of Github Pages today, I found an interesting thing, that’s why I have this solution.
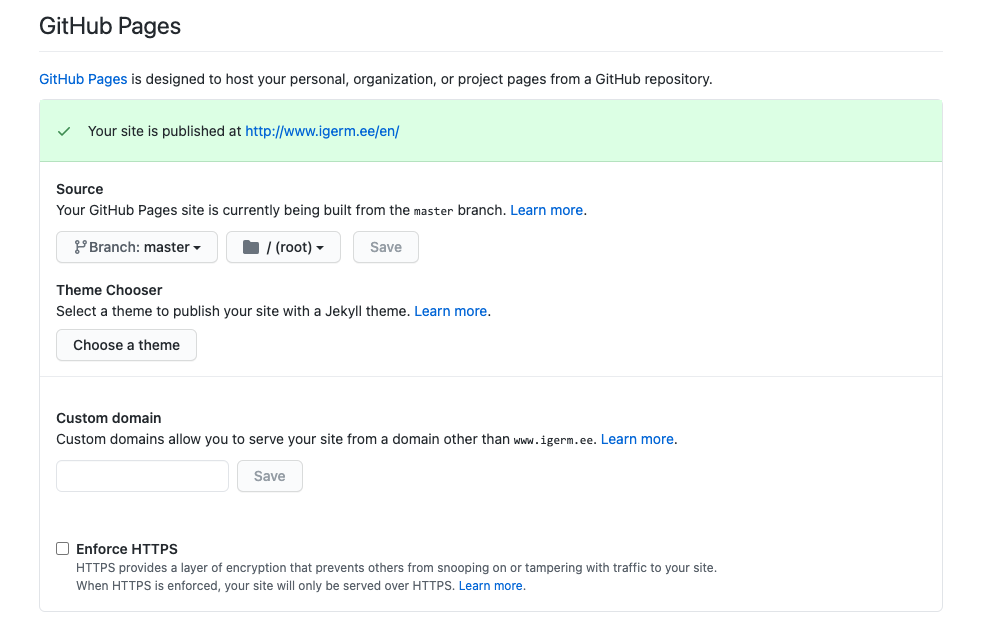
This is the address of the plan I created to store the English version of Hexo. You will find that I did not configure a custom domain name and did not enable mandatory Https, but the address of this library github.com/wellmoonloft/en has automatically become https://www.igerm.ee/en/, I guess it may be that my Chinese version of Hexo is configured with a custom domain name, and Github automatically replaces wellmoonloft.github.io with my custom domain name, then the same user The address of the en warehouse created below becomes like this, **This is great! **
Multi-language solution
Let me talk about the multilingual plan I am thinking about:
1. Use multiple configuration files (system and template)
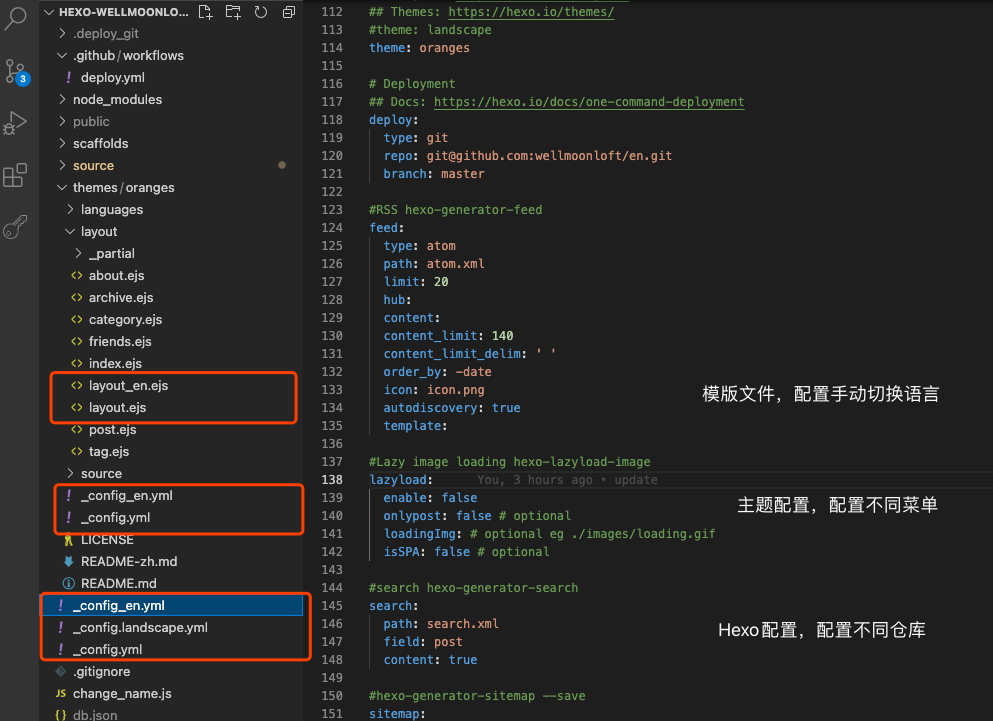
For the theme I use, three additional files need to be configured:
System configuration file, used to distinguish different push warehouses
Theme configuration file, used to configure different buttons and styles (in fact, it can be merged into the system configuration)
The template file is used to add different page switching (ie
ENon the Chinese version and中on the English version)
In fact, I think these three files can be optimized to put all the differences in the system configuration file, but for quick implementation, so simply do this first
2. Push multiple libraries during automatic deployment
It is very simple to implement. Many people may not have thought that after the main library is pushed, **change the names of the above three files and push them again. **
I wrote the code to change the file name very quickly, it is stored in the root directory of change_name.js, if anyone can help to improve it, it would be greatly appreciated
1 | const fs = require('fs'); |
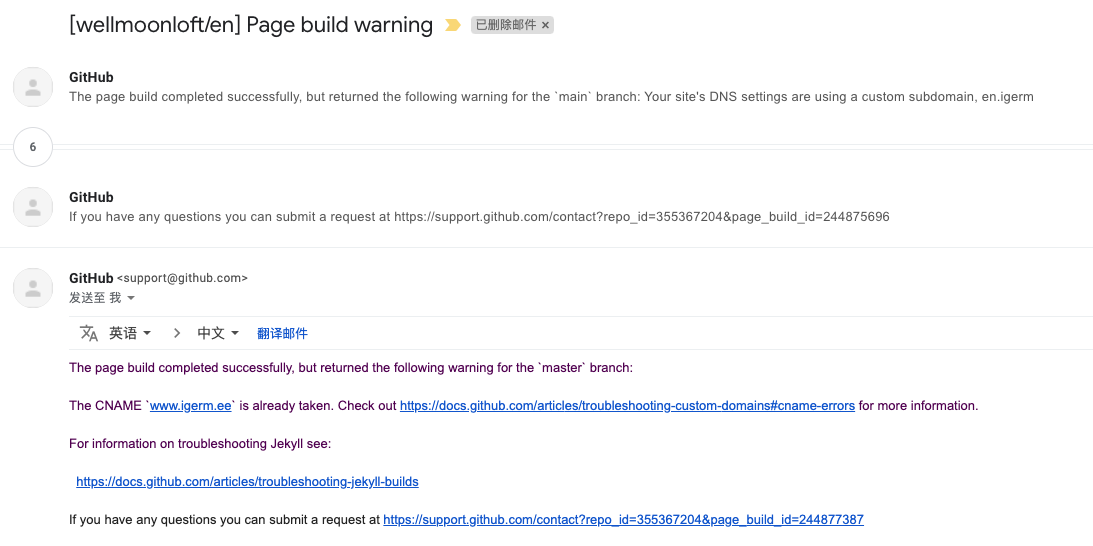
To explain briefly (in fact, it doesn’t seem to be necessary), first change the name of the main file, and then change the English version of the file to the main file. The CNAME file cannot be excluded by skip_render because I have set a custom domain name for the main warehouse. Upload this file to the English version of the warehouse, then you will be frequently emailed errors, like this, so just change it to an inexplicable name by the way
3. Use skip_render to exclude different files
Create two new files under source/_posts, cn and en to put Chinese and English articles, and then use skip_render in the system configuration file to distinguish:
Inside _config.yml
1 | skip_render: |
In _config_en.yml
1 | skip_render: |
4. Add renaming and deployment in the automatic deployment file
Before doing this step, remember to add the renamed js file in the root directory, and then modify the automatic deployment configuration file. For automatic deployment, please see me previous article, and then look at the newly added part of the code, that is, add it after - name: Deploy
1 | name: Hexo Deploy |
The code used to push the second warehouse starts from line 45 -name: Change_name
Run the renamed file first
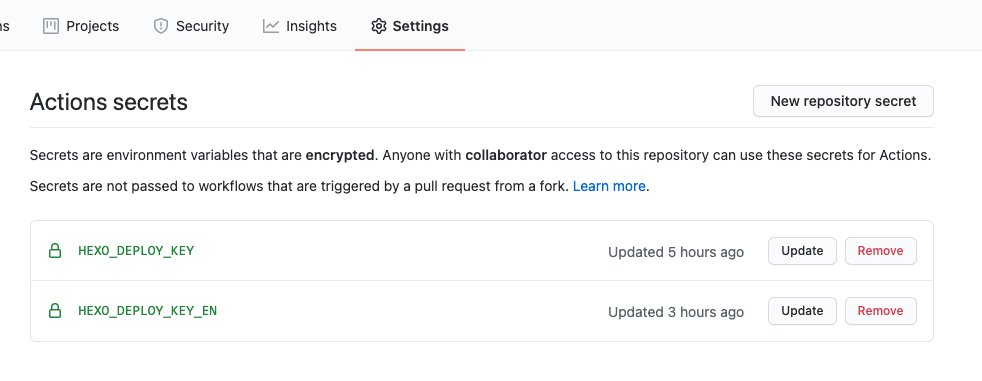
Then modify the private key of the English version of the warehouse (I forgot to mention here, in order to automatically deploy you need to configure an additional pair of public and private keys for the English version of the warehouse, the private key is stored in this warehouse, and the public key is stored in the English version of the warehouse. So there will be two source file warehouses)
- Hexo c, g, and d
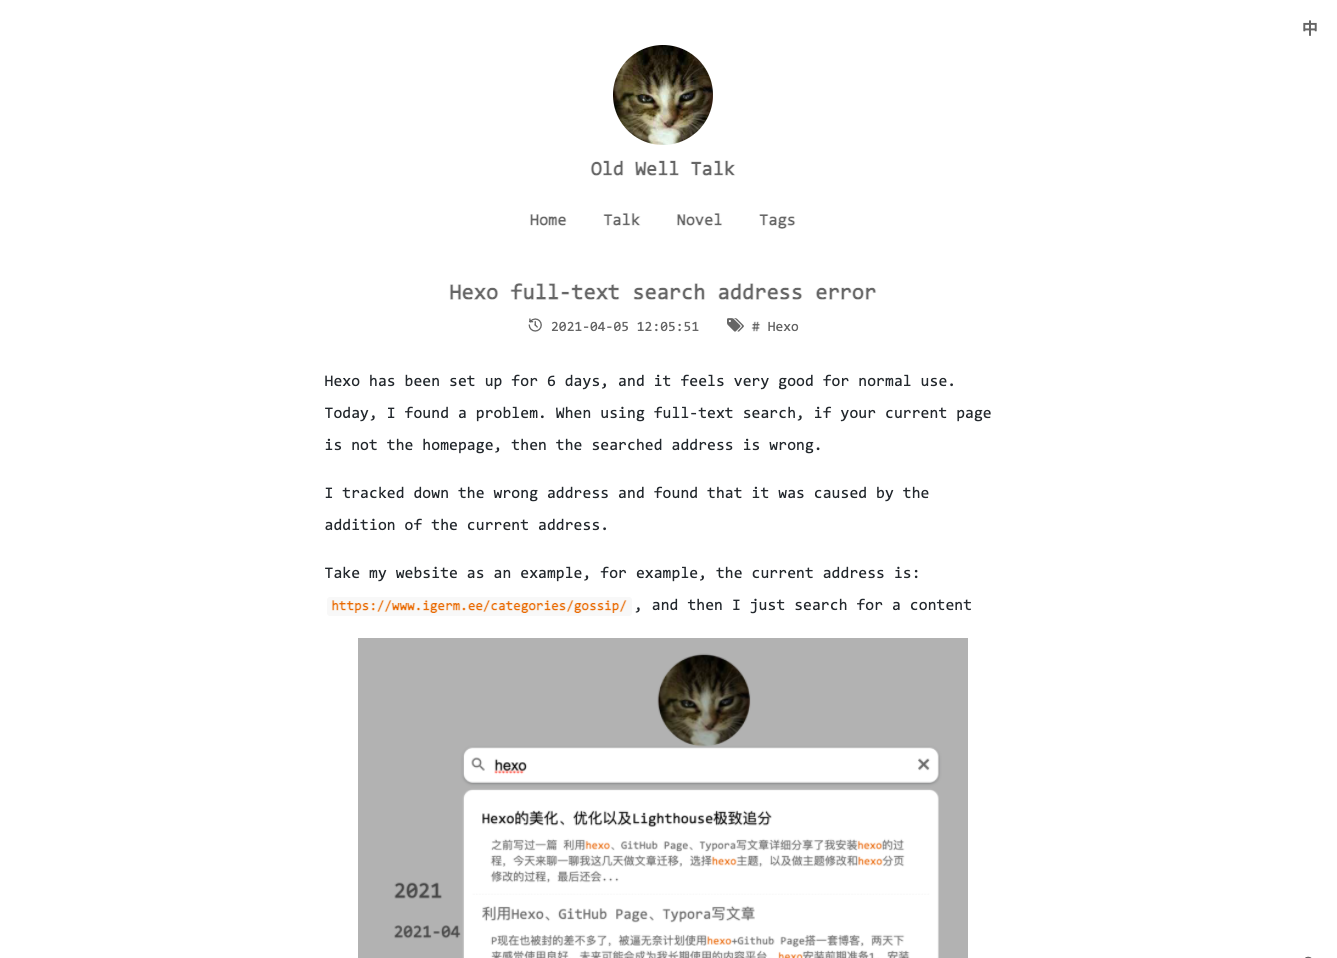
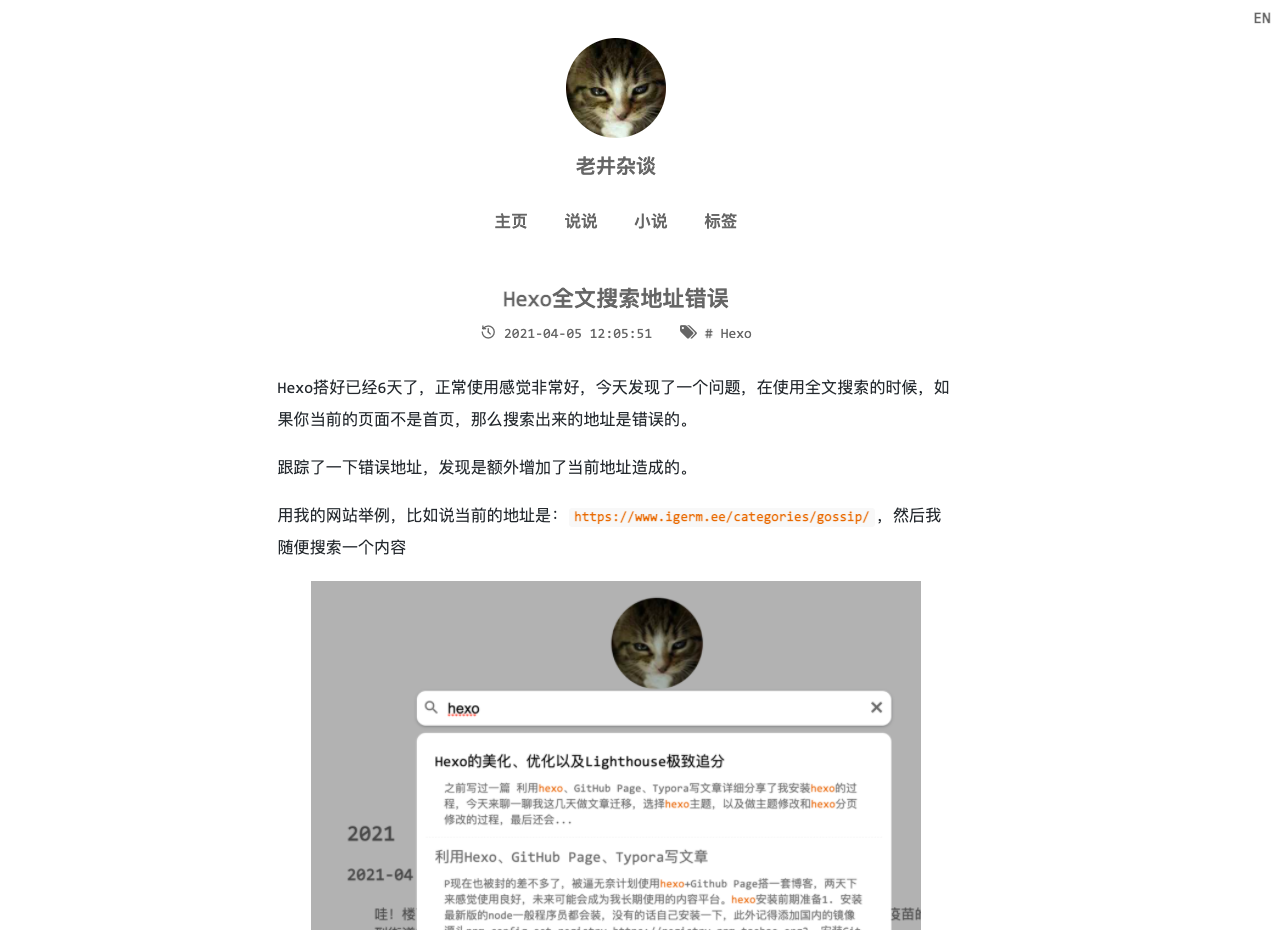
Look at the effect, Google translated, don’t be too picky
PS: There may be another idea behind
Call a NodeJS program during deployment, automatically translate Chinese into English through Google’s translated API, and save it in the en folder
